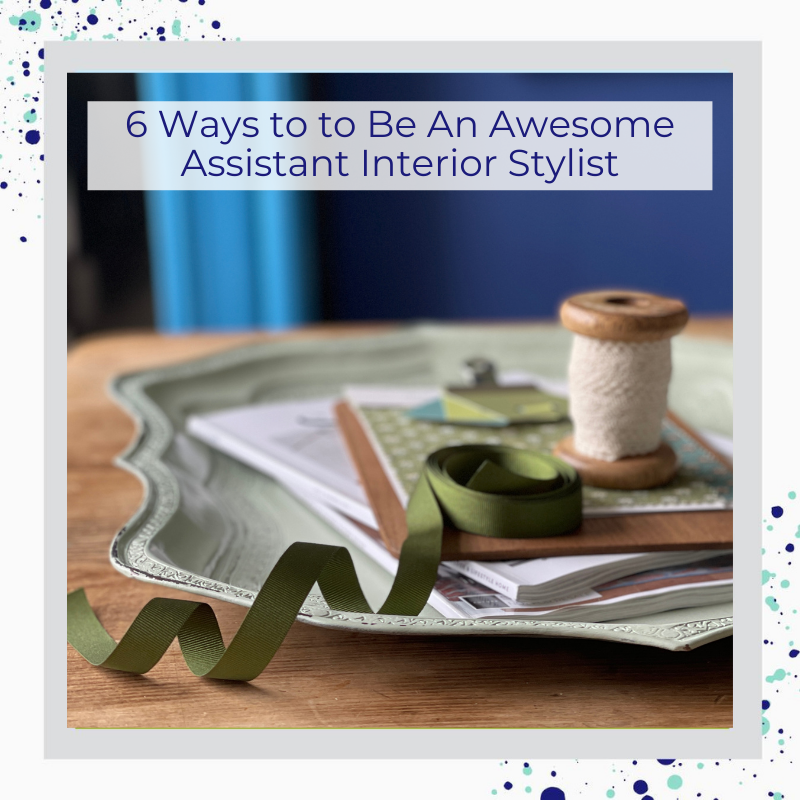
Are you just starting out in the world of interior styling? We’ll tell you all you need to know to be an awesome assistant.
By Claire Parkin
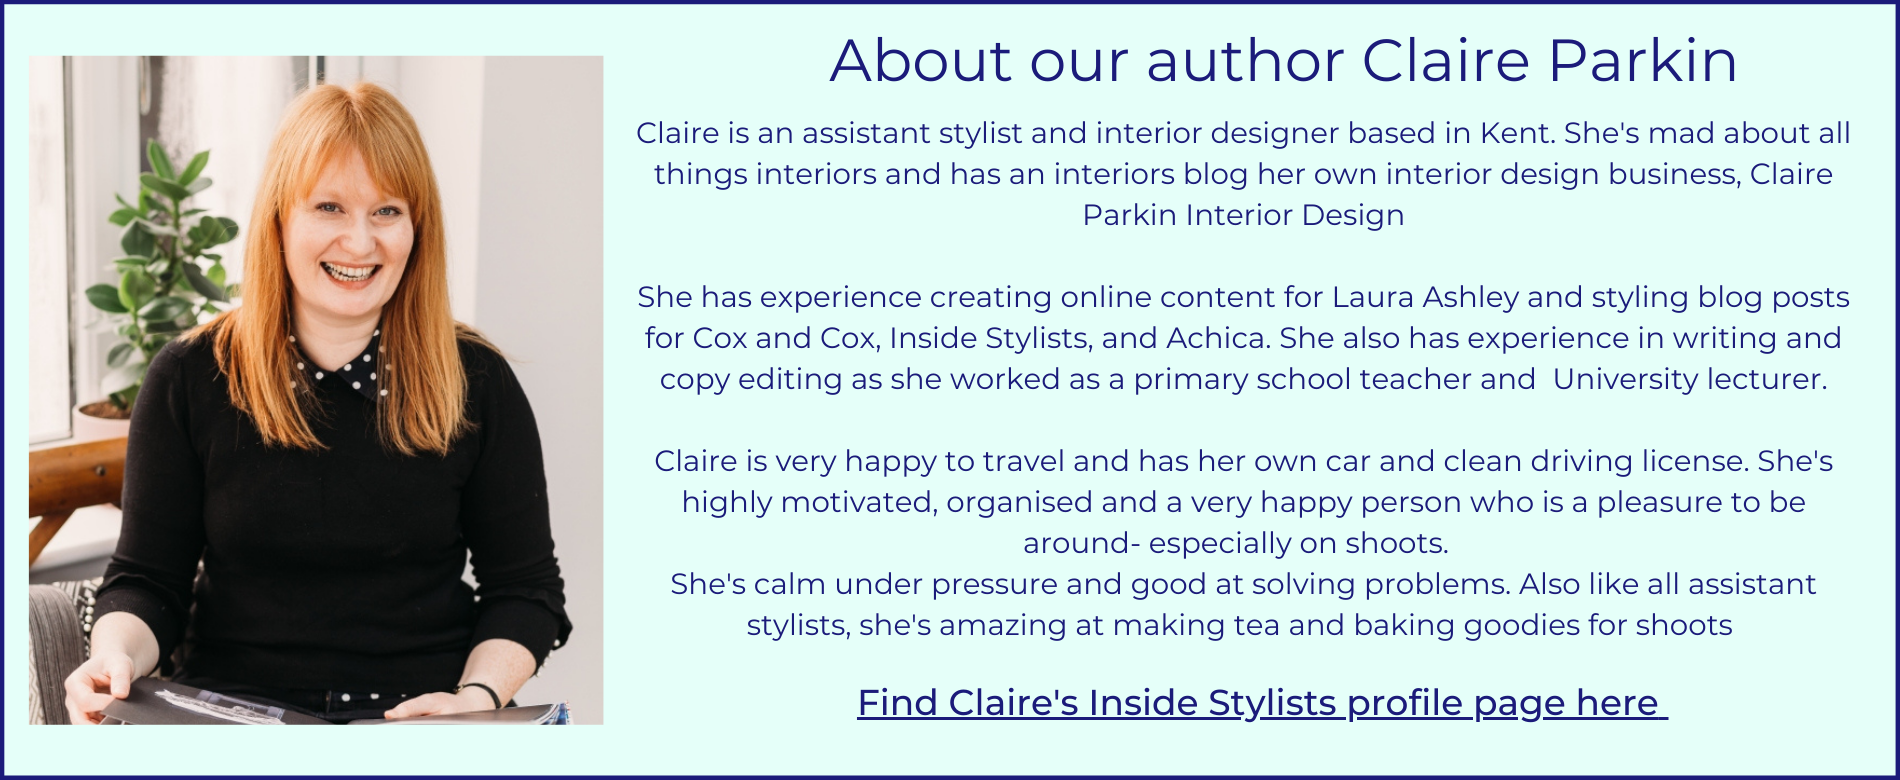
Let me tell you a secret. I wish I had taken the plunge and become an assistant stylist much earlier than I did. I took forever to get in contact with Emma (head honcho at Inside Stylists) and ask about how I could sign up. Why? Same as most people I guess. Imposter syndrome.
I had poured over interior magazines for years, taken 2 interior design courses and had recently qualified as an interior designer. Heck, I’d even assisted as part of work experience on an Ideal Home shoot! But yet I still felt as if I wasn’t really qualified to call myself an assistant. So I didn’t sign up. For ages.
I’m happy to say that I eventually came to my senses and realised that sometimes you just gotta take the plunge! Everyone starts somewhere right? I’ve been an assistant for just over a year now and had the privilege to work with some amazing stylists.
Today I want to share with you my ‘newbie knowledge’ in case you are where I was just a short while ago. I’ve gone through all of my shoots to date, written down everything that I’ve learnt and turned it into my top 5 tips for being an awesome assistant stylist. Here they are…
“Woo” the stylist
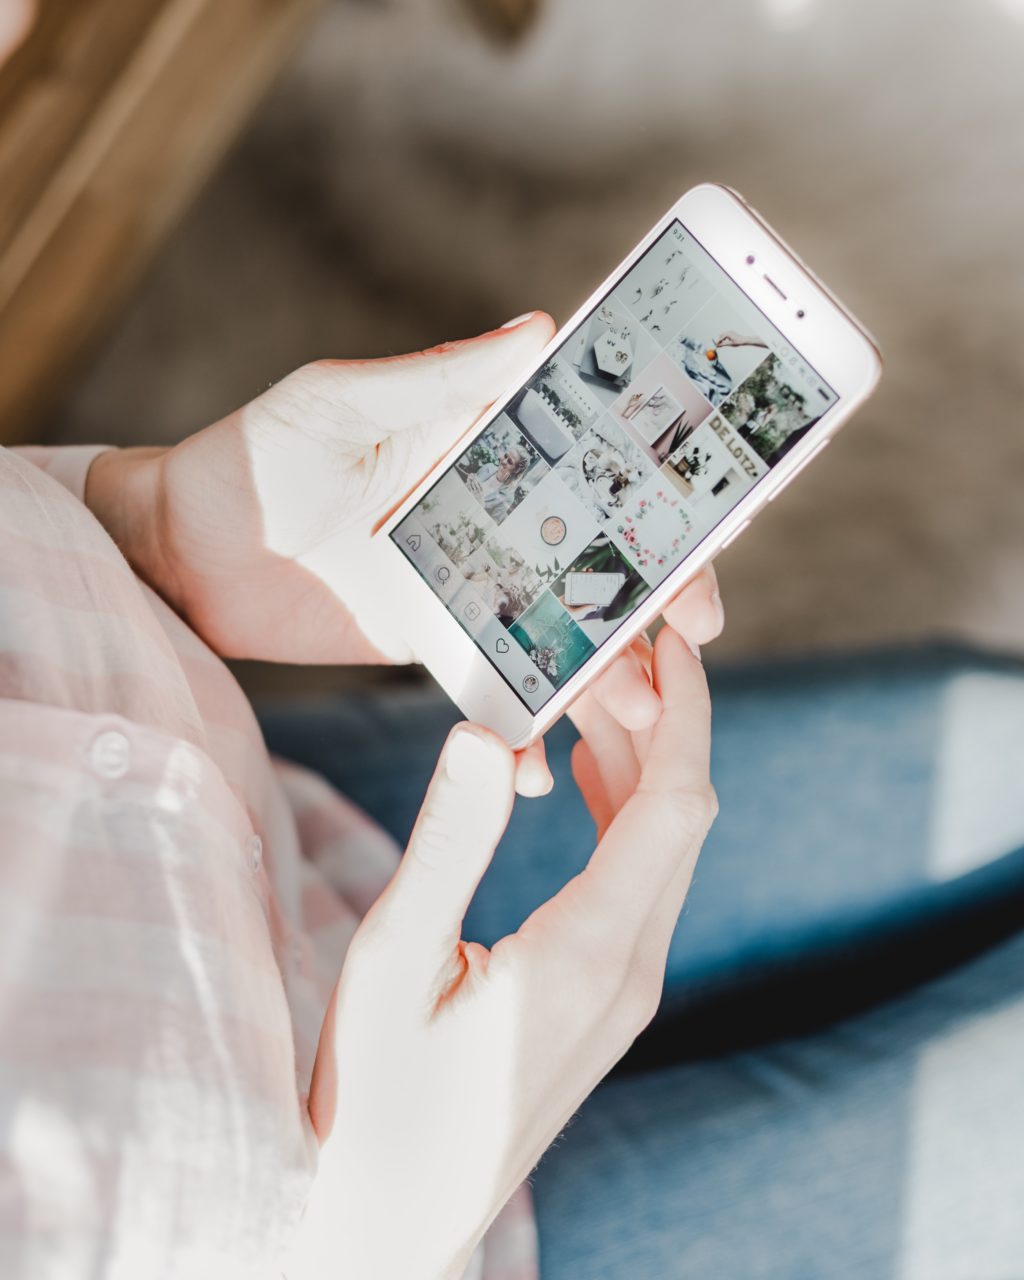
Now bear with me because I’m aware that this one sounds weird. And a bit creepy! I don’t mean that you should send the stylist flowers and write them poetry. Not for a second. What I mean by ‘woo the stylist’ is get to know them on social media before you work with them. Make a list of all the stylists that you would love to work with and follow their work (you can find social media handles for our stylists on the Inside Stylists website here).
This means you can be genuine when you approach a stylist asking if they would consider hiring you when they are next looking for an assistant. You’ll be able to tell them exactly why you love their work and why you think you’d be a great fit as an assistant!
Get organised
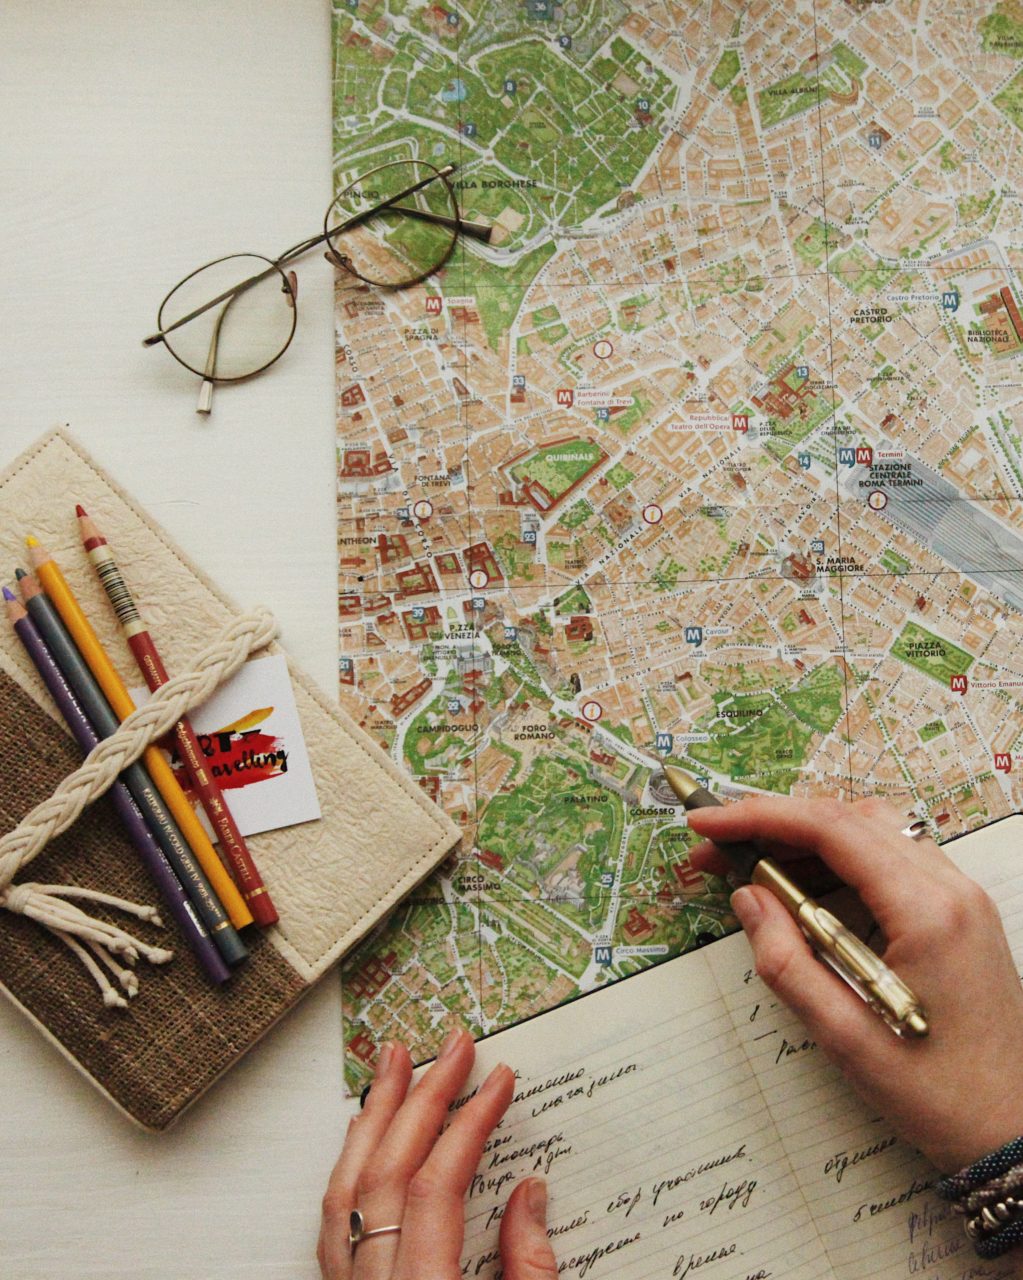
Ok, so you’ve been hired by a stylist and the date of the shoot is set. What next? Time to get organised my friend! Great shoot organisation starts before the shoot.
Contact the stylist once you are booked and ask if there’s anything that you can do to support them as they prepare. I did this when I worked with Selina Lake and went off looking for pomegranates, as she was finding it tricky to source them in the supermarket. I had some luck and found some locally, which meant that I started the shoot days feeling as if I’d already contributed – even though it was in a very small way!
It’s also a good idea to map out your travel to the shoot location in plenty of time and to work out how you are going to get there. Then add at least 30 minutes onto that travel time. All you need is a delayed train or to get stuck in traffic and the day suddenly becomes incredibly stressful. No one wants to show up to a shoot late. Especially if it’s the first time you are working with a stylist. Once you’ve got your travel plan in place, it’s time to organise your kit bag…
Kit bag essentials
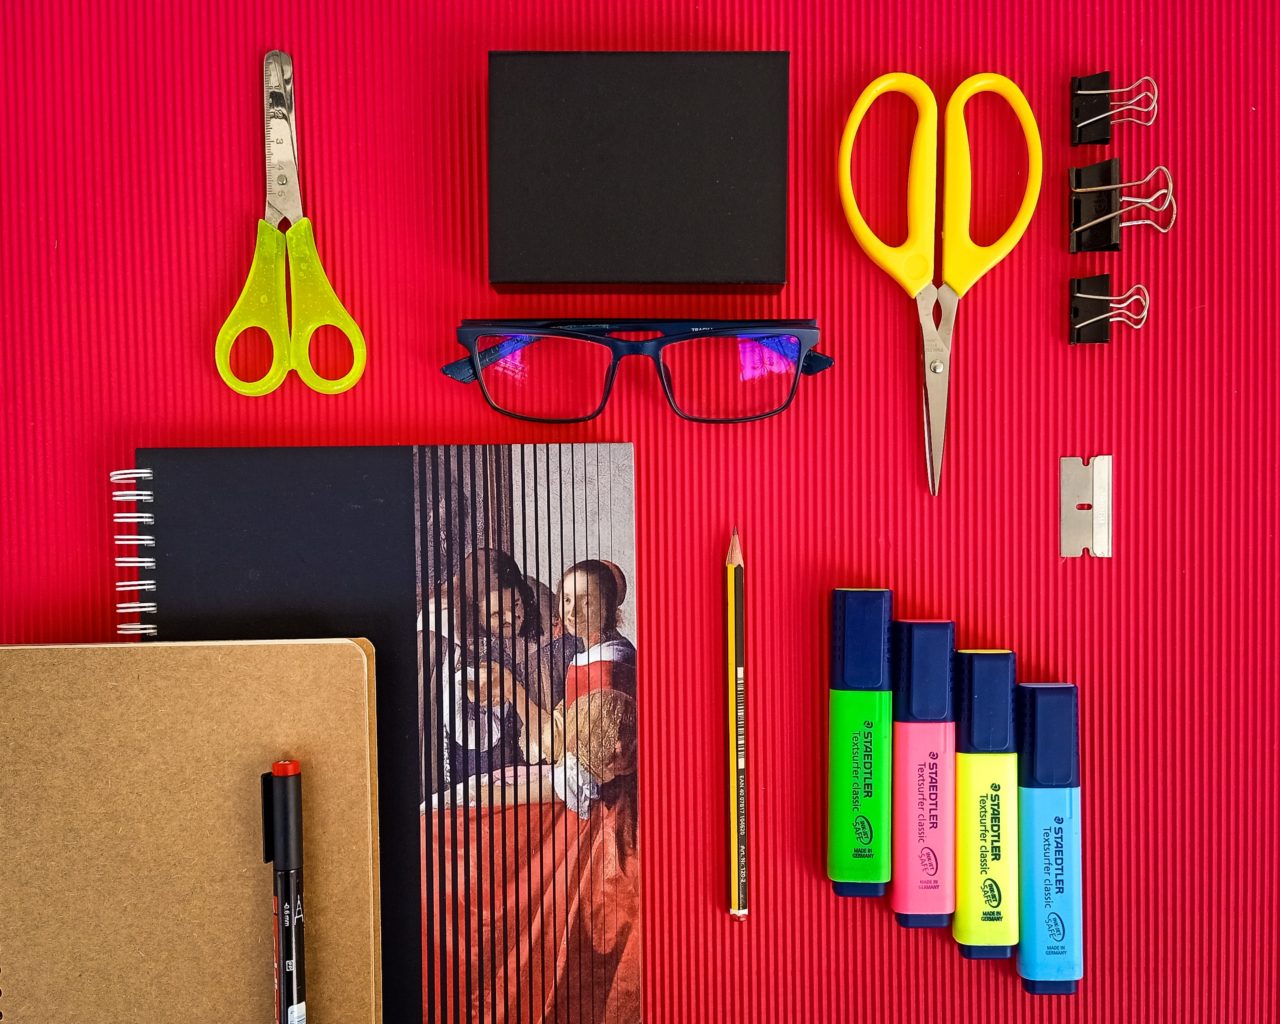
These are the items I currently pack into my kit bag for a shoot. I find you can’t go wrong with these:
- A good pair of scissors for opening boxes. Even better if you have 2! Label them or stick a coloured sticker on them if you want them back again…
- Roll of sellotape and duct tape
- Small sewing kit
- A pencil case with some good quality marker pens (like Sharpies). You’ll be noting down items that come out of boxes onto the lid and also writing labels to make sure that items are returned to the correct place.
- Water bottle – it’s thirsty work!
- Portable charger. I use an Anker one, which gives me 3 charges on my phone. Just in case there’s nowhere to plug your phone in.
- Small cleaning cloth and a dish cloth – may sound random but I’ve always used these when I’ve taken them on shoots! You never know when you are going to need to do a quick spot of dusting 🙂
- Travel mug – this means you can keep your tea/coffee warm as you move it from room to room and also means that you are always ‘Covid safe’ on a shoot as it’s clear which mug is yours.
- Clip board or paper clips. I collect all the packing dockets from brands on my clip board so that I can stay organised. It’s also where I keep any paperwork that the stylist might have sent me before the shoot.
- Utility belt. These are so useful for storing your pens/scissors/phone in on the day. I can’t tell you how many things I was trying to cram into the pockets on my jeans before having one of these.
On the day
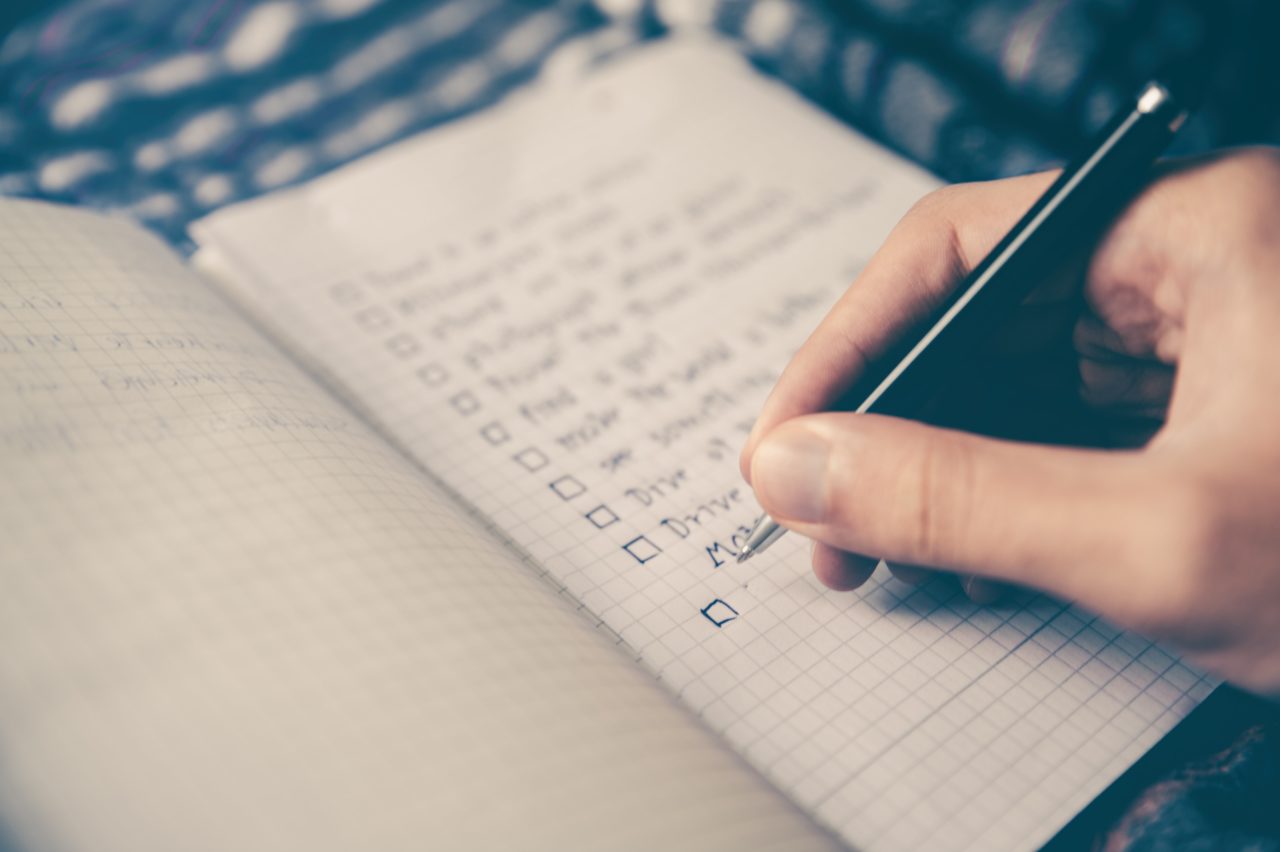
The day’s arrived and you’re on the shoot. You’ve prepped before hand and are ready to go. So how do you make sure that the day runs as smoothly as possible?
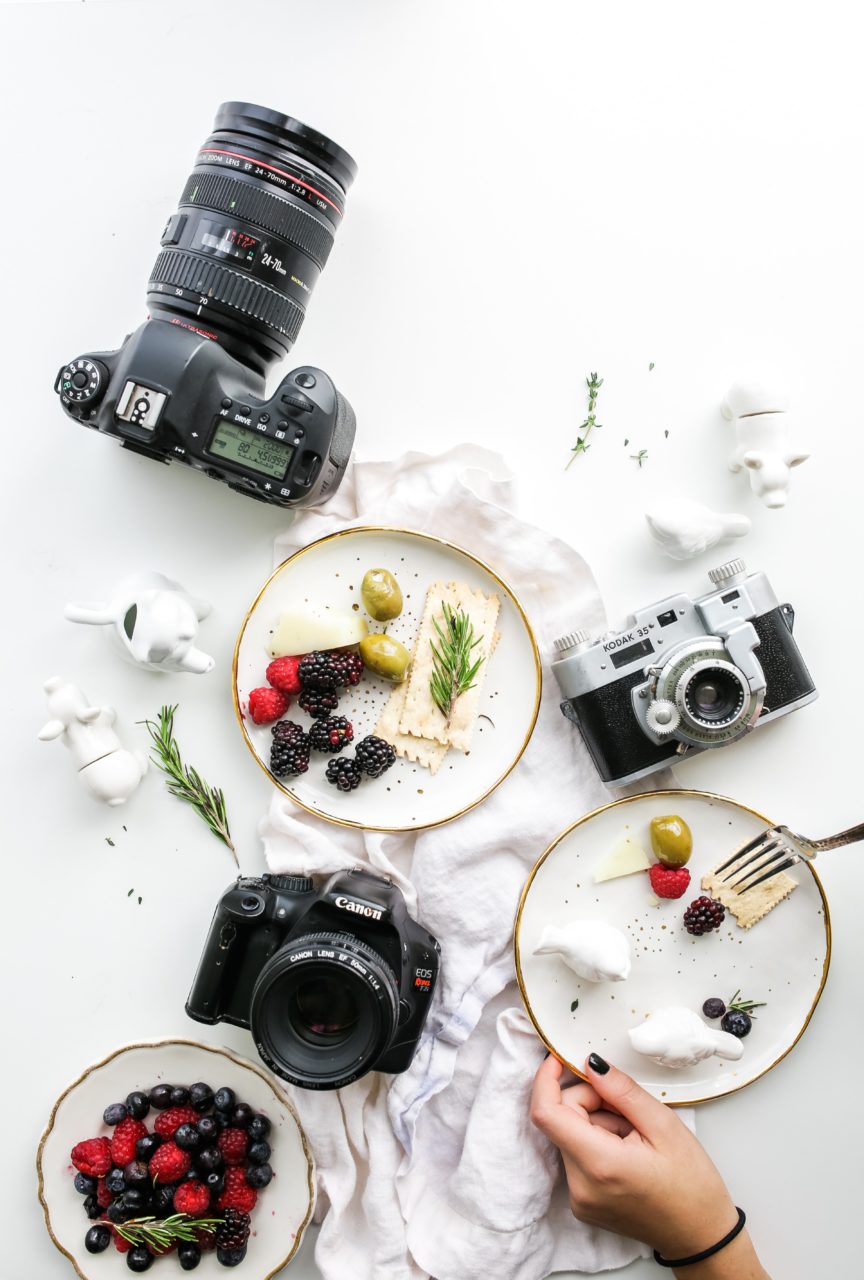
My top piece of advice, again, is to get organised. If you are on a shoot with lots of products (like a magazine feature), it’s likely that there will be a courier van arriving with a van full of products for you to unload and unbox! Before you start helping to unload the van, set up a Whatsapp account with everyone on the shoot who will be involved in unpacking the props. This is most likely to be you, any other assistants, the stylist and the art director.
As you take things out of a box, make sure that you group them together and take a quick snap on your phone. Then label the photo with text stating where the products are from. This avoids the horrid ‘which box does this go in?’ question when it comes to packing everything back up at the end of the day.
After you’ve taken the photo of the product, write the products on the inside label of the box. That way you know exactly, what goes in which box. It’s also a good way to make sure you’ve got everything in before you seal it up again at the end of the day. Nothing worse that undoing a box you’ve already packed to add something else in!
Think ahead
Once the products are all unpacked and set up for the stylist to choose from, take a look around and see if there’s anything you can do to make the next bit of everyone’s job easier. Is there something you can do for the stylist to help them set up their next shot (like collecting props, gift wrapping boxes if it’s a Christmas shoot, arranging flowers in a vase etc)? Or, perhaps a coffee/tea and biscuits run is the best way to support those around you at that time!
Be flexible, act off your own initiative if you can and don’t be afraid to ask if there’s something else you can be doing to help.
What are your top tips?
These are just some of the things I’ve discovered so far. But how about you? If you’re already an assistant and have some other top tips to share, we’d love to hear from you. Leave a comment below or come and share your ideas with us over on social media. We’re @insidestylists on Instagram.